Introduction
If you are doing modifications to Godot Engine to use in mobile games in android, is very likely that you will need to debug your changes. Fortunately, Godot provides a very straightforward way to debug your builds, and we are going to cover the steps for doing so in this blog post.
Pre-requisites
- Get the Godot engine source code from GitHub.
- Install everything needed to build an android export template, as stated here.
- Build an android export template following the steps of the link above to be sure everything is in place.
- Install Android Studio
If you are reading this blog post because you want to make changes to Godot for your custom android build, make sure that your editor version matches your custom export template version!
Opening the template project
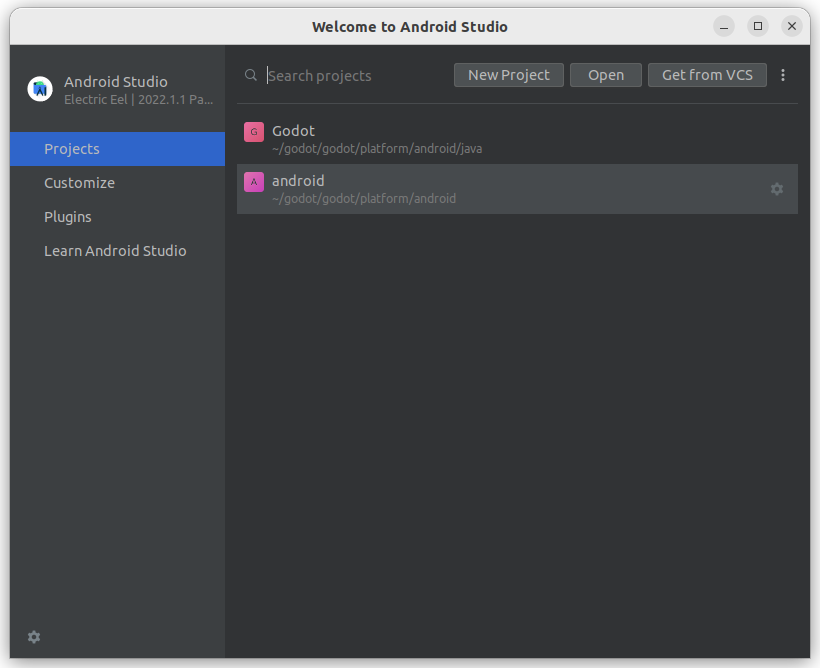
The first step to debug Godot for android is to open the project in Android Studio. Open the IDE. If you don’t have any project opened before, you will see the Android Studio Welcome Dialog:
Press the “Open” button at the top, and open the project that will be in the following location:
<godot_root>/platform/android/java/settings.gradleWhere <godot_root> is the directory where you cloned or downloaded the Godot source code. If you already had a project opened in Android Studio, just open this by going to the File->Open menu option.
Android Studio will then open the project and set everything up. It may take a few minutes to finish all the needed tasks.
Run the project on your device
Make sure that your device is in developer mode and has debugging over USB enabled, and connect it to your computer. You should see your device listed right next to the play button in the toolbar of Android Studio:

Before pressing the play, you need to set up a project that will be launched on your device. For this, use Godot project manager to create a project as you would normally do, but in this directory:
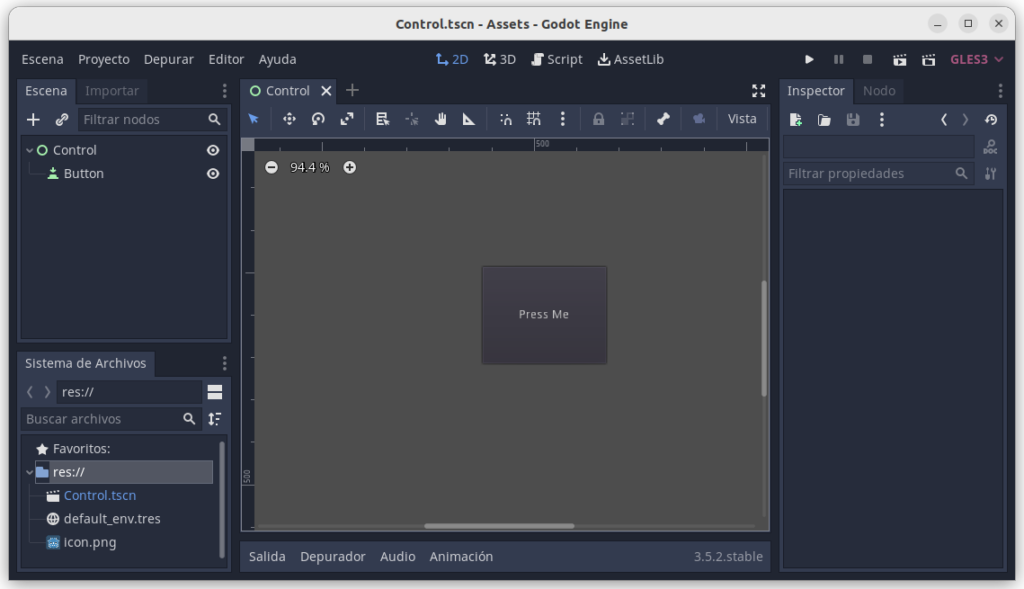
<godot_root>/platform/android/java/app/assetsYour project must be created directly in that folder for this to work. You also need this project to have a main scene, so it doesn’t crash when trying to launch it. For testing purposes, create a scene with a button in the center, and select it as main scene in your project settings:
After this, you can go ahead and press the play button in the toolbar of Android Studio. It will take some time the first time to build everything, and after that, you should see the game running on your device!
Very cool right? But what is different from just doing this from the Godot editor?
The main difference is that from Android Studio we can debug the C++ engine code while running our project!
Debugging the Project
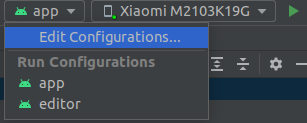
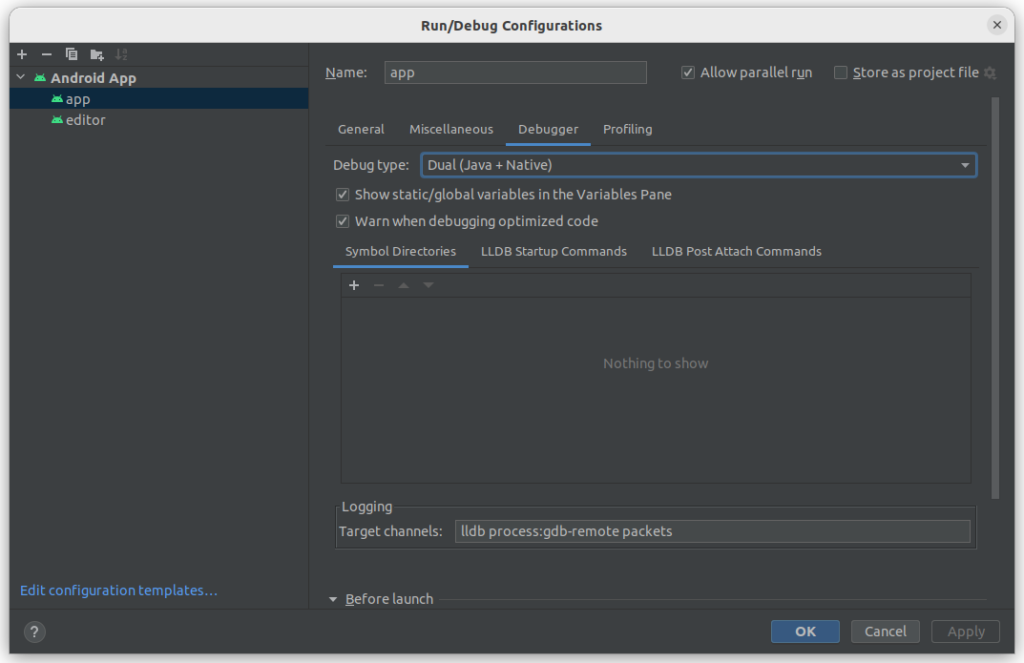
To be able to debug the project, go to the drop-down where you select the build configurations to run, and press “Edit Configurations…”
In the “Debug” tab of the dialog that pops up, make sure that the option “Dual (Java+Native)” is selected in the “Debug type” field:
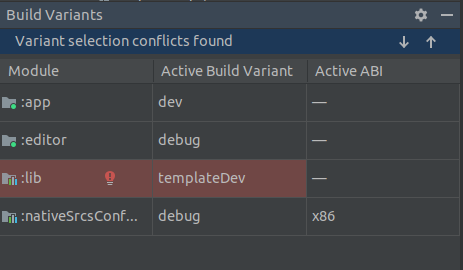
You also need to set “dev” mode in the “Build Variants” config for the “app” module. Go to View -> Tool Windows -> Build Variant and set that option:
Now let’s find somewhere to put a breakpoint to test everything. As our main scene has a button on it, we are going to put a breakpoint when the button is pressed. For that, we need to open the base_button.cpp file, and look for the implementation of the _pressed() function. We can find the file in the project explorer in the following path:
nativeSrcsConfig -> cpp -> scene -> gui -> base_button.cppPut a break just before the instruction where the pressed signal is emitted:
void BaseButton::_pressed() {
    if (get_script_instance()) {
        get_script_instance()->call(SceneStringNames::get_singleton()->_pressed);
    }
    pressed();
    emit_signal("pressed");
}
Go ahead and run the project again, this time pressing the debug button in the toolbar.
The project will take some time to build and attach the debugger, and then you will see the app running on your device.
If everything went ok, when you press the button in the app, the breakpoint you just set will hit in Android Studio!
Conclusion
That’s all for now. With this information, you are now able to modify the engine and debug your changes in android. This is essential if you plan to include custom engine code in your games!